Japan, Travel | 7 February 2024 | 3.2 MIN READ
Your Essential Guide to a 12-Hour Layover in Tokyo (Haneda)
781 days ago
By Homson — Get exclusive travel tips and updates for free here.
Originally published in 2023. Updated: June 2, 2025.
A 12-hour layover might seem short, but it’s enough time to get a taste of Tokyo’s vibrant energy. This guide is your key to unlocking a memorable experience even with limited time.
Whether you’re flying with ANA (Star Alliance) or JAL (OneWorld) airlines to your final destination—you’re most likely going to end up with a layover in Japan and chances are you’ll find yourself with several hours to spare at Haneda before your next flight. What are some things you should know? Here’s how I spent my 12-hour layover in Tokyo, with detailed tips to make your brief visit memorable.
Preparation and Timing: Understanding Time Requirements
- Immigration and Customs: Leave plenty of time for customs and security. Arriving at Haneda Airport (HND) usually places you in Terminal 3. From personal experience (arriving from Delhi at 5:55 AM), navigating customs and security took about 1hr 2 minutes and 9 seconds (yes I timed it!) due to limited staff. Account for at least one hour for both entry and exit procedures.
Pro Tip: If you’re arriving during peak hours (7-9 AM or 4-6 PM), allow an extra 30 minutes for immigration processing as these times see the highest volume of international arrivals.
- Planning Your Time: In my case this left 10 hours left to reach my destinations (which I hadn’t planned) or spend time. That means, if your layover is over 8 hours, you still have plenty of time to see a few sights. However, if your layover is shorter, be strategic with your time to maximize your experience in Tokyo
Layover Time Calculator
Use this simple formula to determine how much exploration time you have:
Total Layover Time
- 1 hour (entry immigration/customs)
- 1.5 hours (return airport security/boarding)
- 1 hour (transport to/from city)
= Your Tokyo Exploration Time
For a 12-hour layover, this typically leaves you with about 8.5 hours in the city—plenty of time to see 2-3 major attractions and enjoy a meal!
📍Hanedakuko, Ota City, Tokyo 144-0041, Japan
📞+81 3-5757-8111
🌐Visit Website
Featured Gear

*Contains affiliate links – I may earn a commission at no extra cost to you
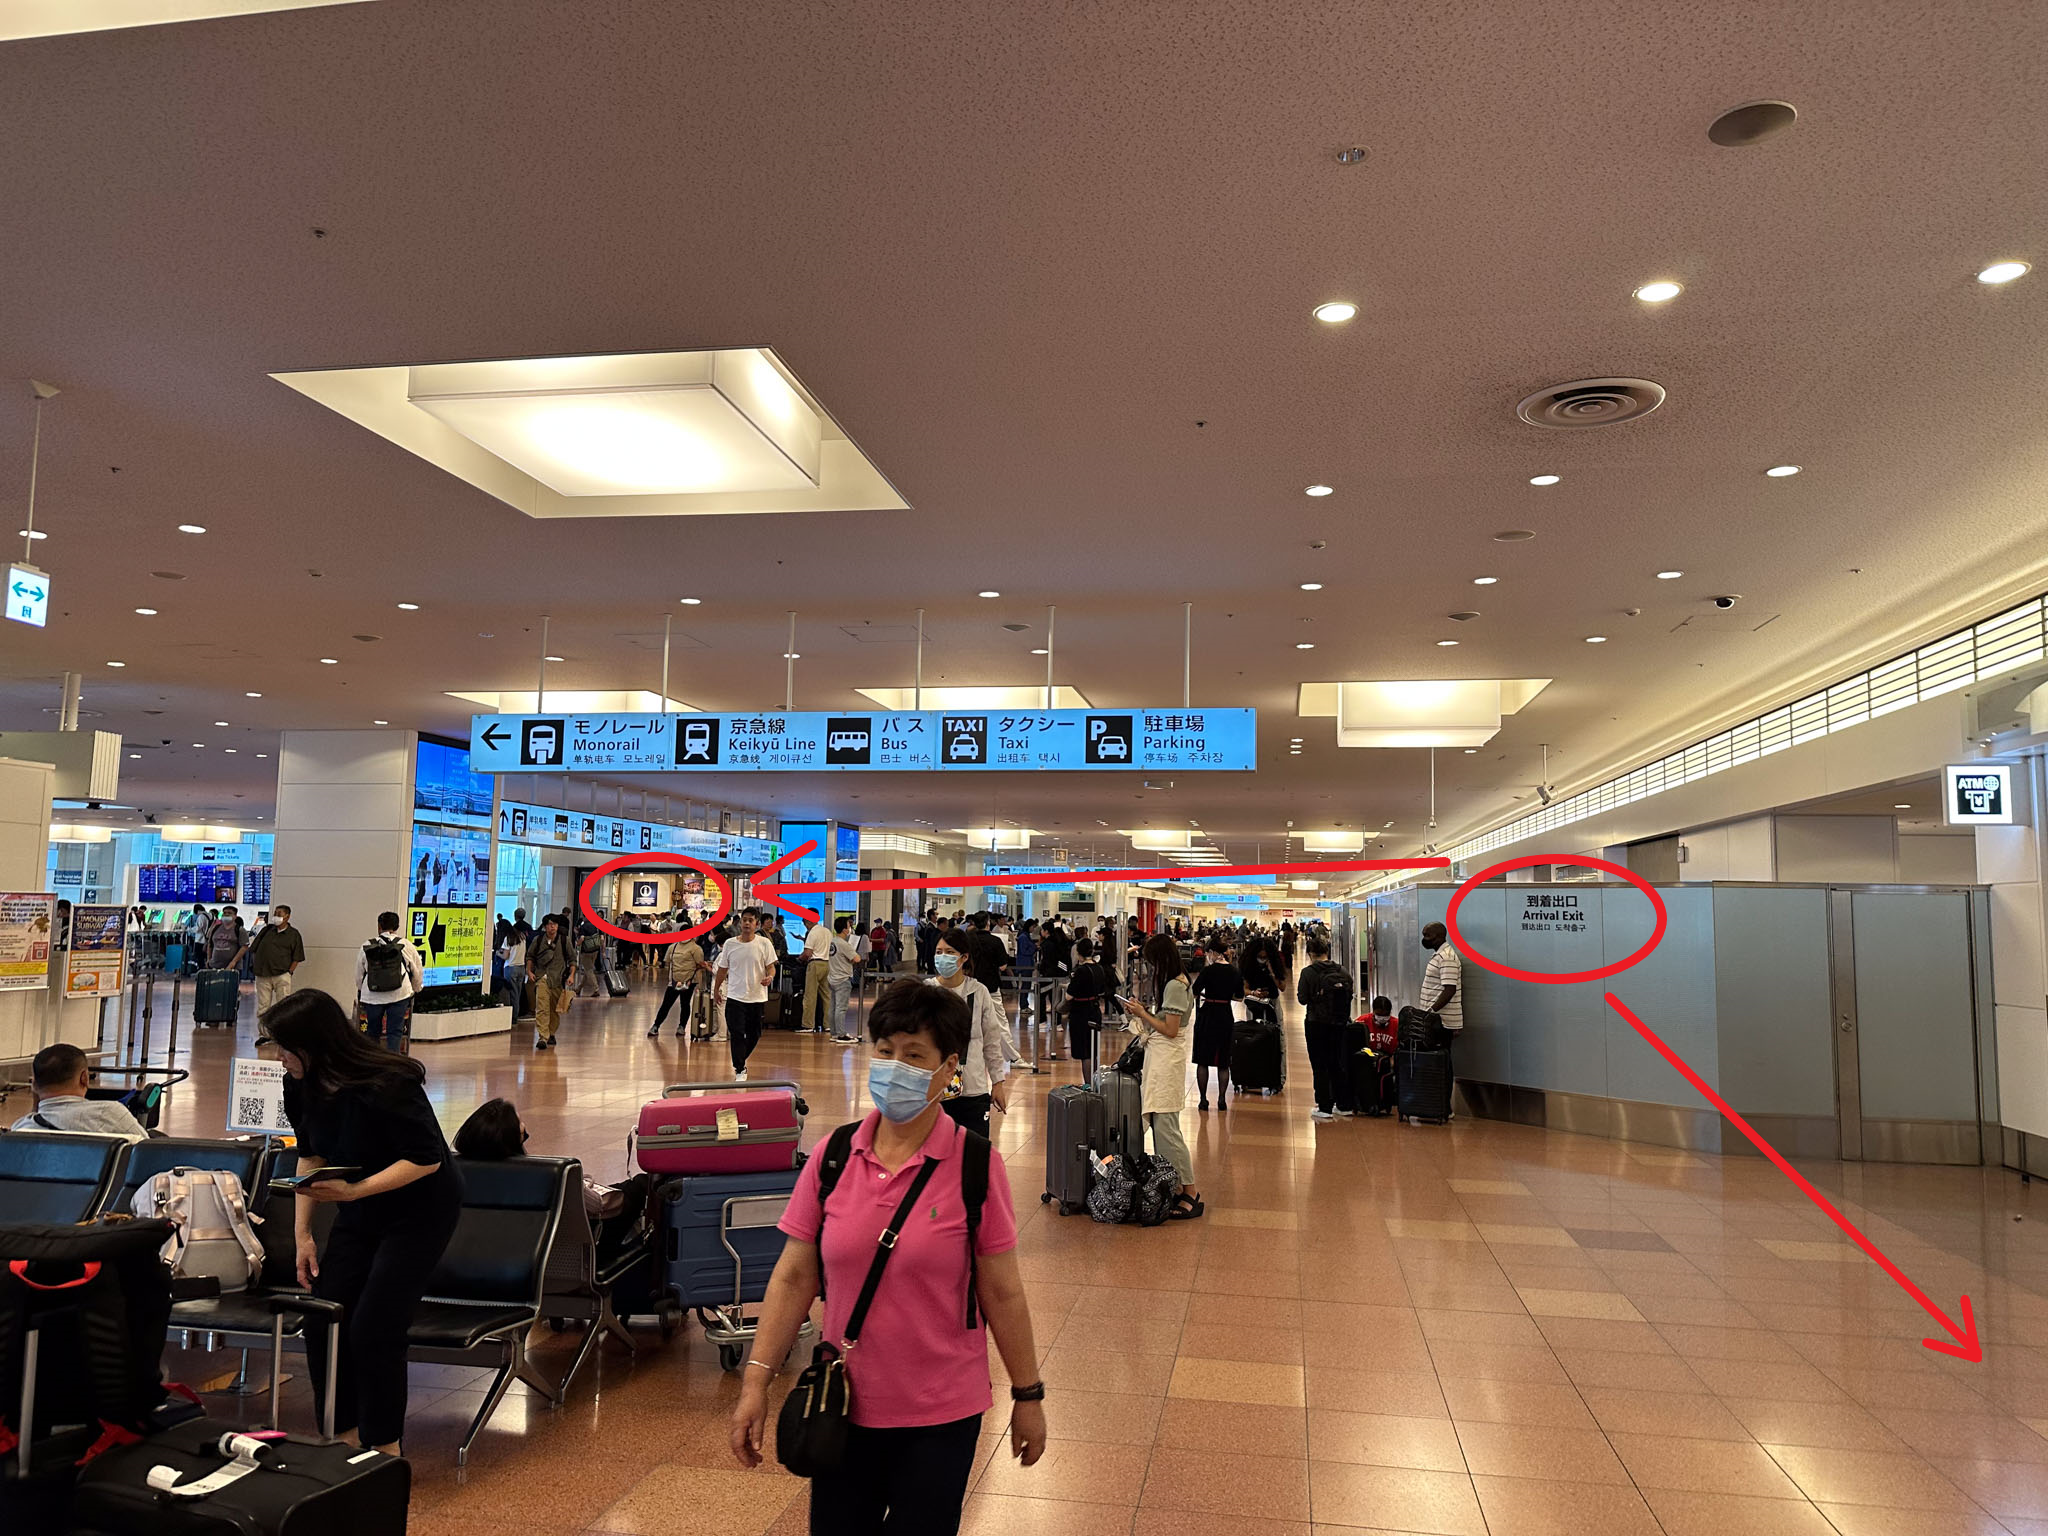
Navigating Haneda Airport (HND)
When you leave customs you most likely will be in Terminal 3. Upon exit, I would recommend the following steps:
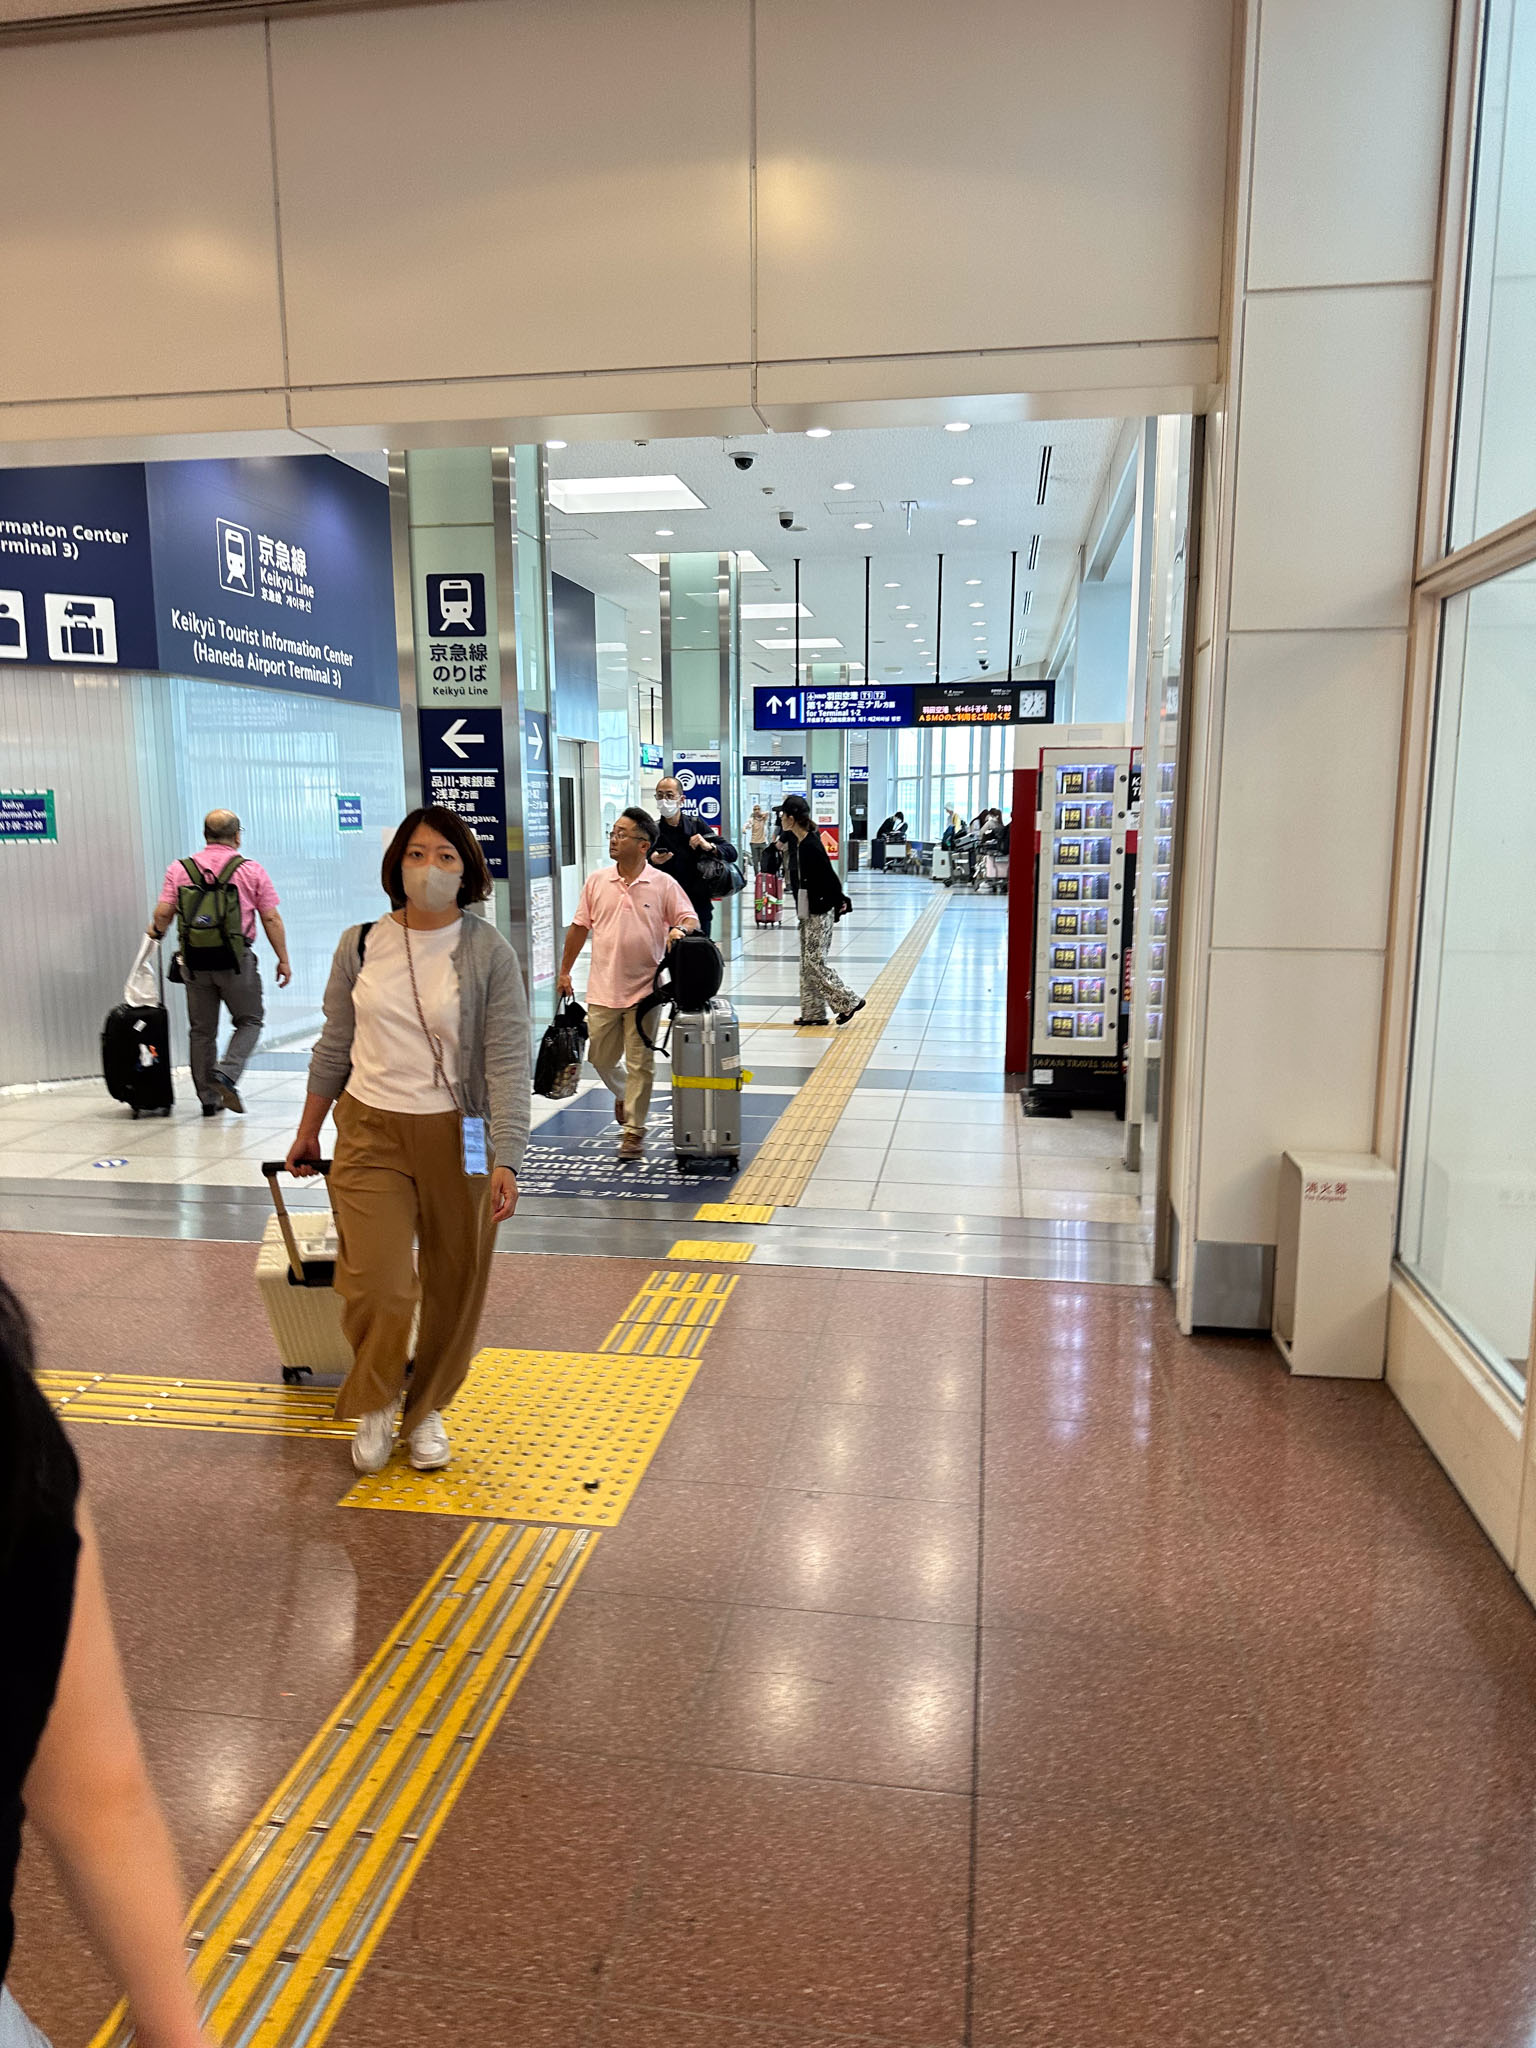
- Head to the Information Desk (They were Super Helpful): Upon exiting customs in Terminal 3, head to the Information Desk. The friendly staff will help you plan your itinerary and navigate transportation options based on your interests and available time. They can also provide maps and mark points of interest for you that can be realistically visited during your layover.
My Experience: The staff spoke excellent English and showed me which attractions were open in the early morning when I arrived—saving me from heading to places that weren’t yet open.
- Currency Exchange: Exchange a small amount of cash (around $100 USD or Euros) at the counter near the exit (to your left). While credit cards are widely accepted in Tokyo, smaller shops, traditional markets, and some restaurants may only accept cash.
Exchange Rates: Airport rates aren’t the best, but the convenience makes up for it. If you plan to exchange larger amounts, consider using ATMs at 7-Eleven stores in the city for better rates.
- Storing Your Luggage: Store, don’t carry your bags around the city! Instead, turn right at the “Domestic Connecting Flights” sign and store your bags at the baggage counter located at the end of the hall or use the lockers. Cost Breakdown:
- Baggage counter: ¥1,500 (approximately $10.45 USD) for multiple bags (up to 6 bags)
- Coin lockers: ¥300-¥800 ($2-$5.50) depending on size
- Oversized luggage lockers: ¥1,000 ($7)
For assistance, contact the bag counter staff at Tel: 080-1492-9906.
Transportation Tips
Go to this red machine to get your Welcome Suica card to travel around Tokyo effortlessly. Load ¥2000 on the card (See more info below)
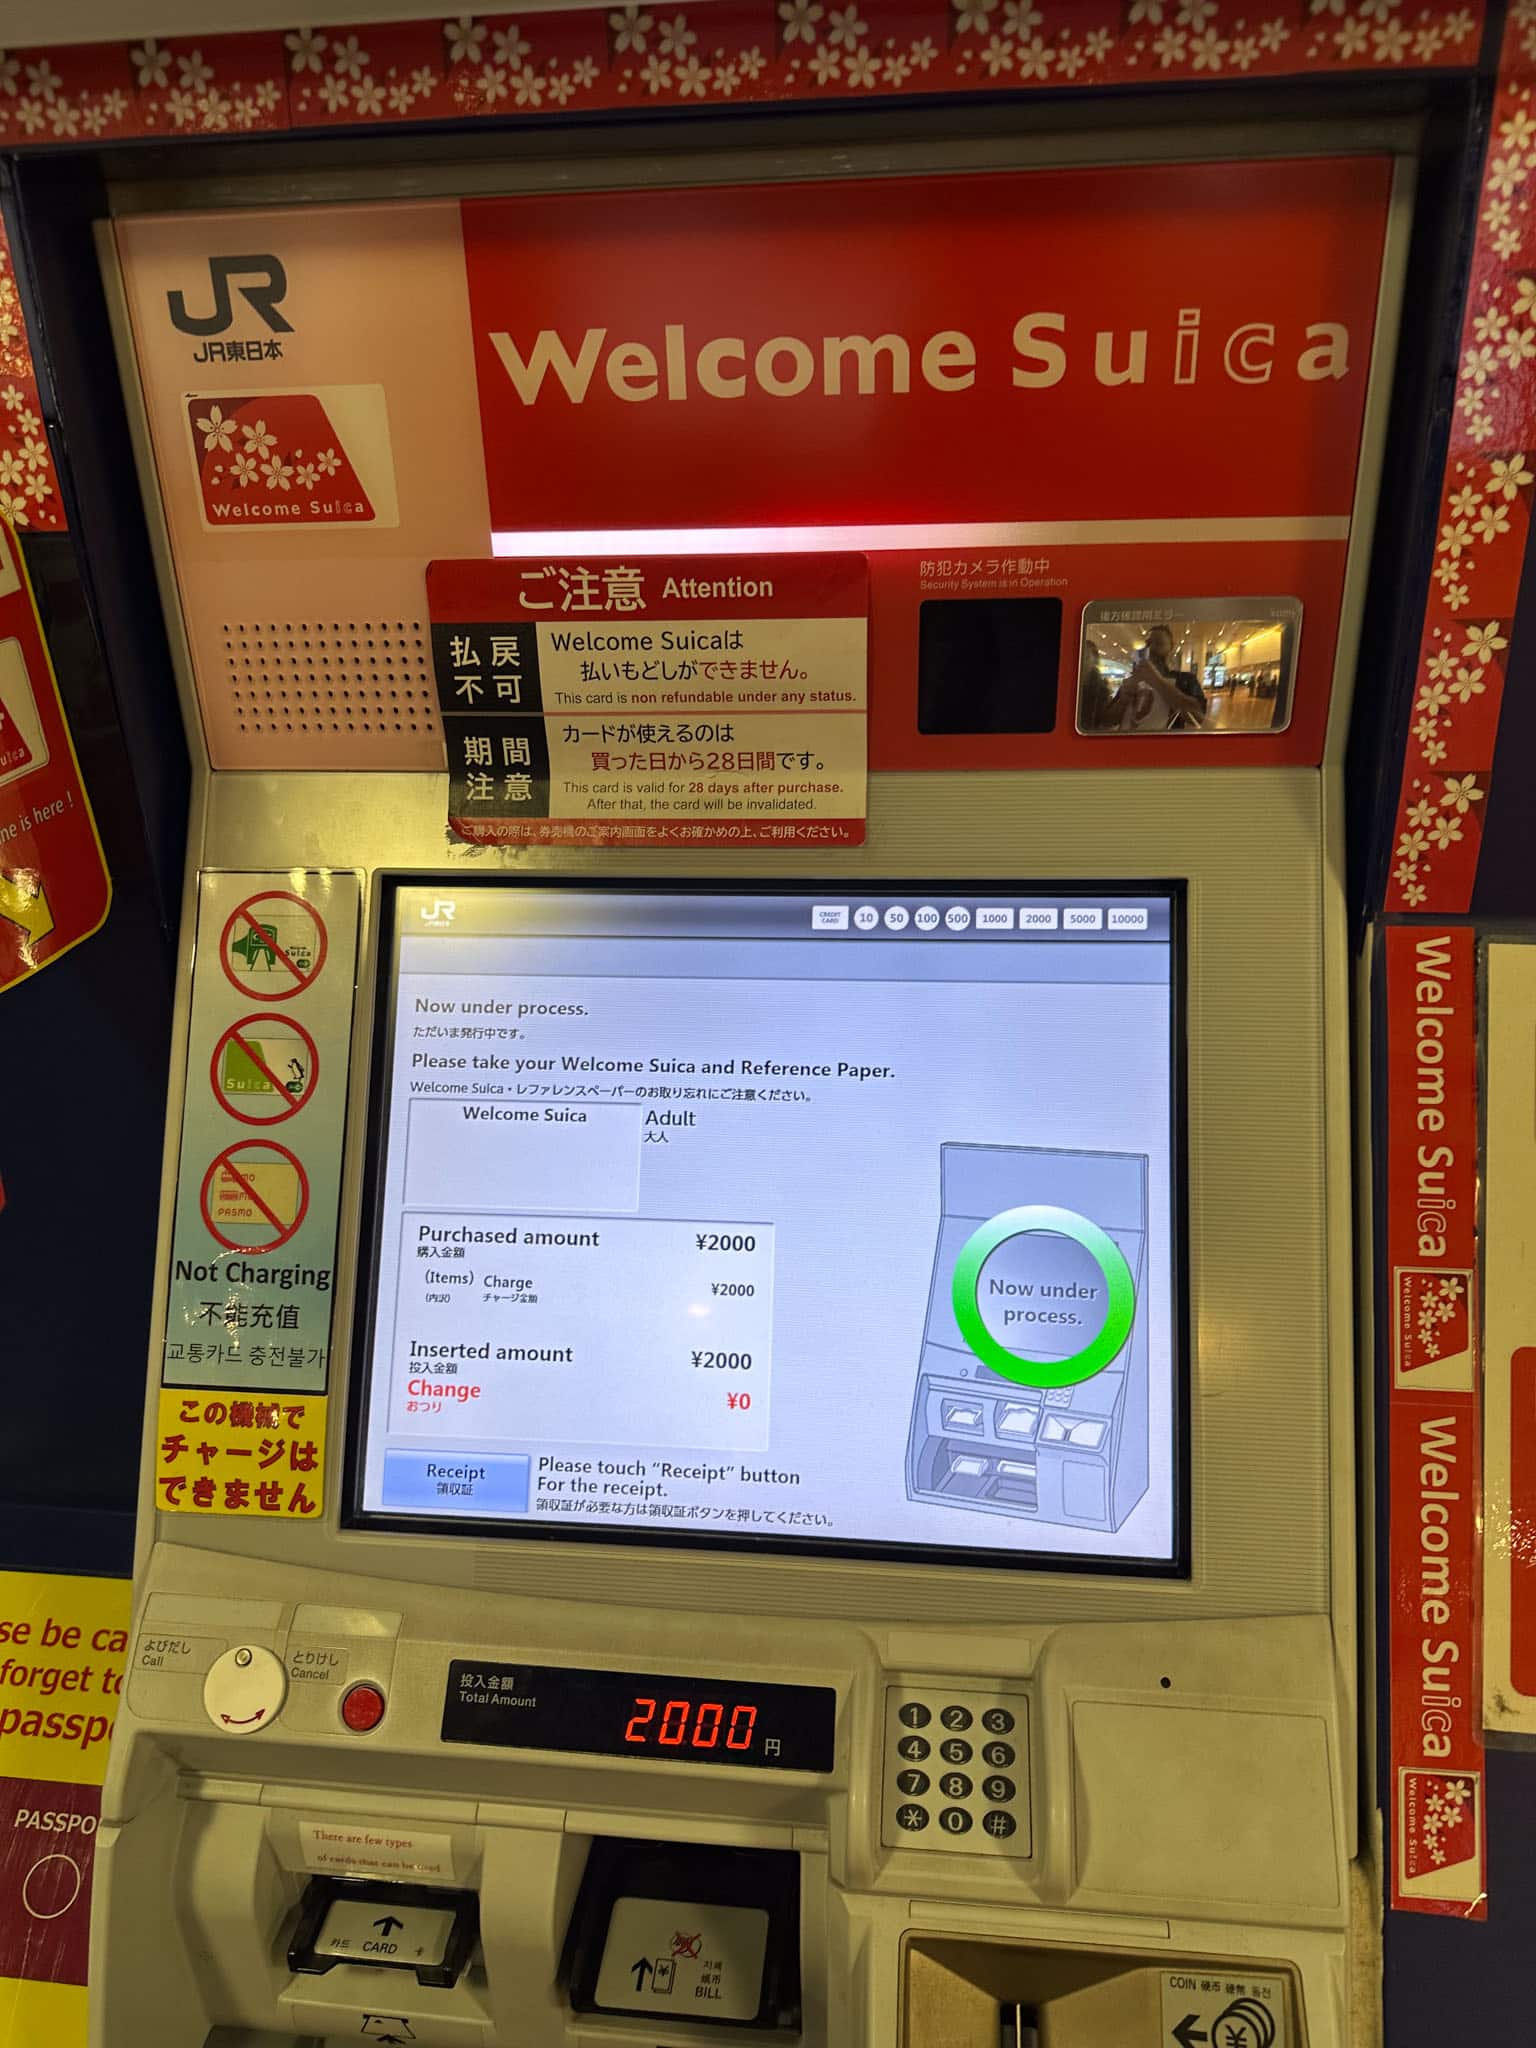
- Getting Around: Purchase a Welcome Suica card from a red machine at the airport. Loading ¥2000 on the card will more than suffice for day travel across Tokyo. I found the transportation to be somewhat challenging even as someone who loves navigating metros. However, the Suica card made it easy since I didn’t have to figure out the cost between each train stop.
Card Options Comparison:
- Welcome Suica: Easiest for tourists, no deposit required
- Regular Suica: Requires ¥500 deposit, refundable upon return
- PASMO: Similar to Suica, works on all the same systems
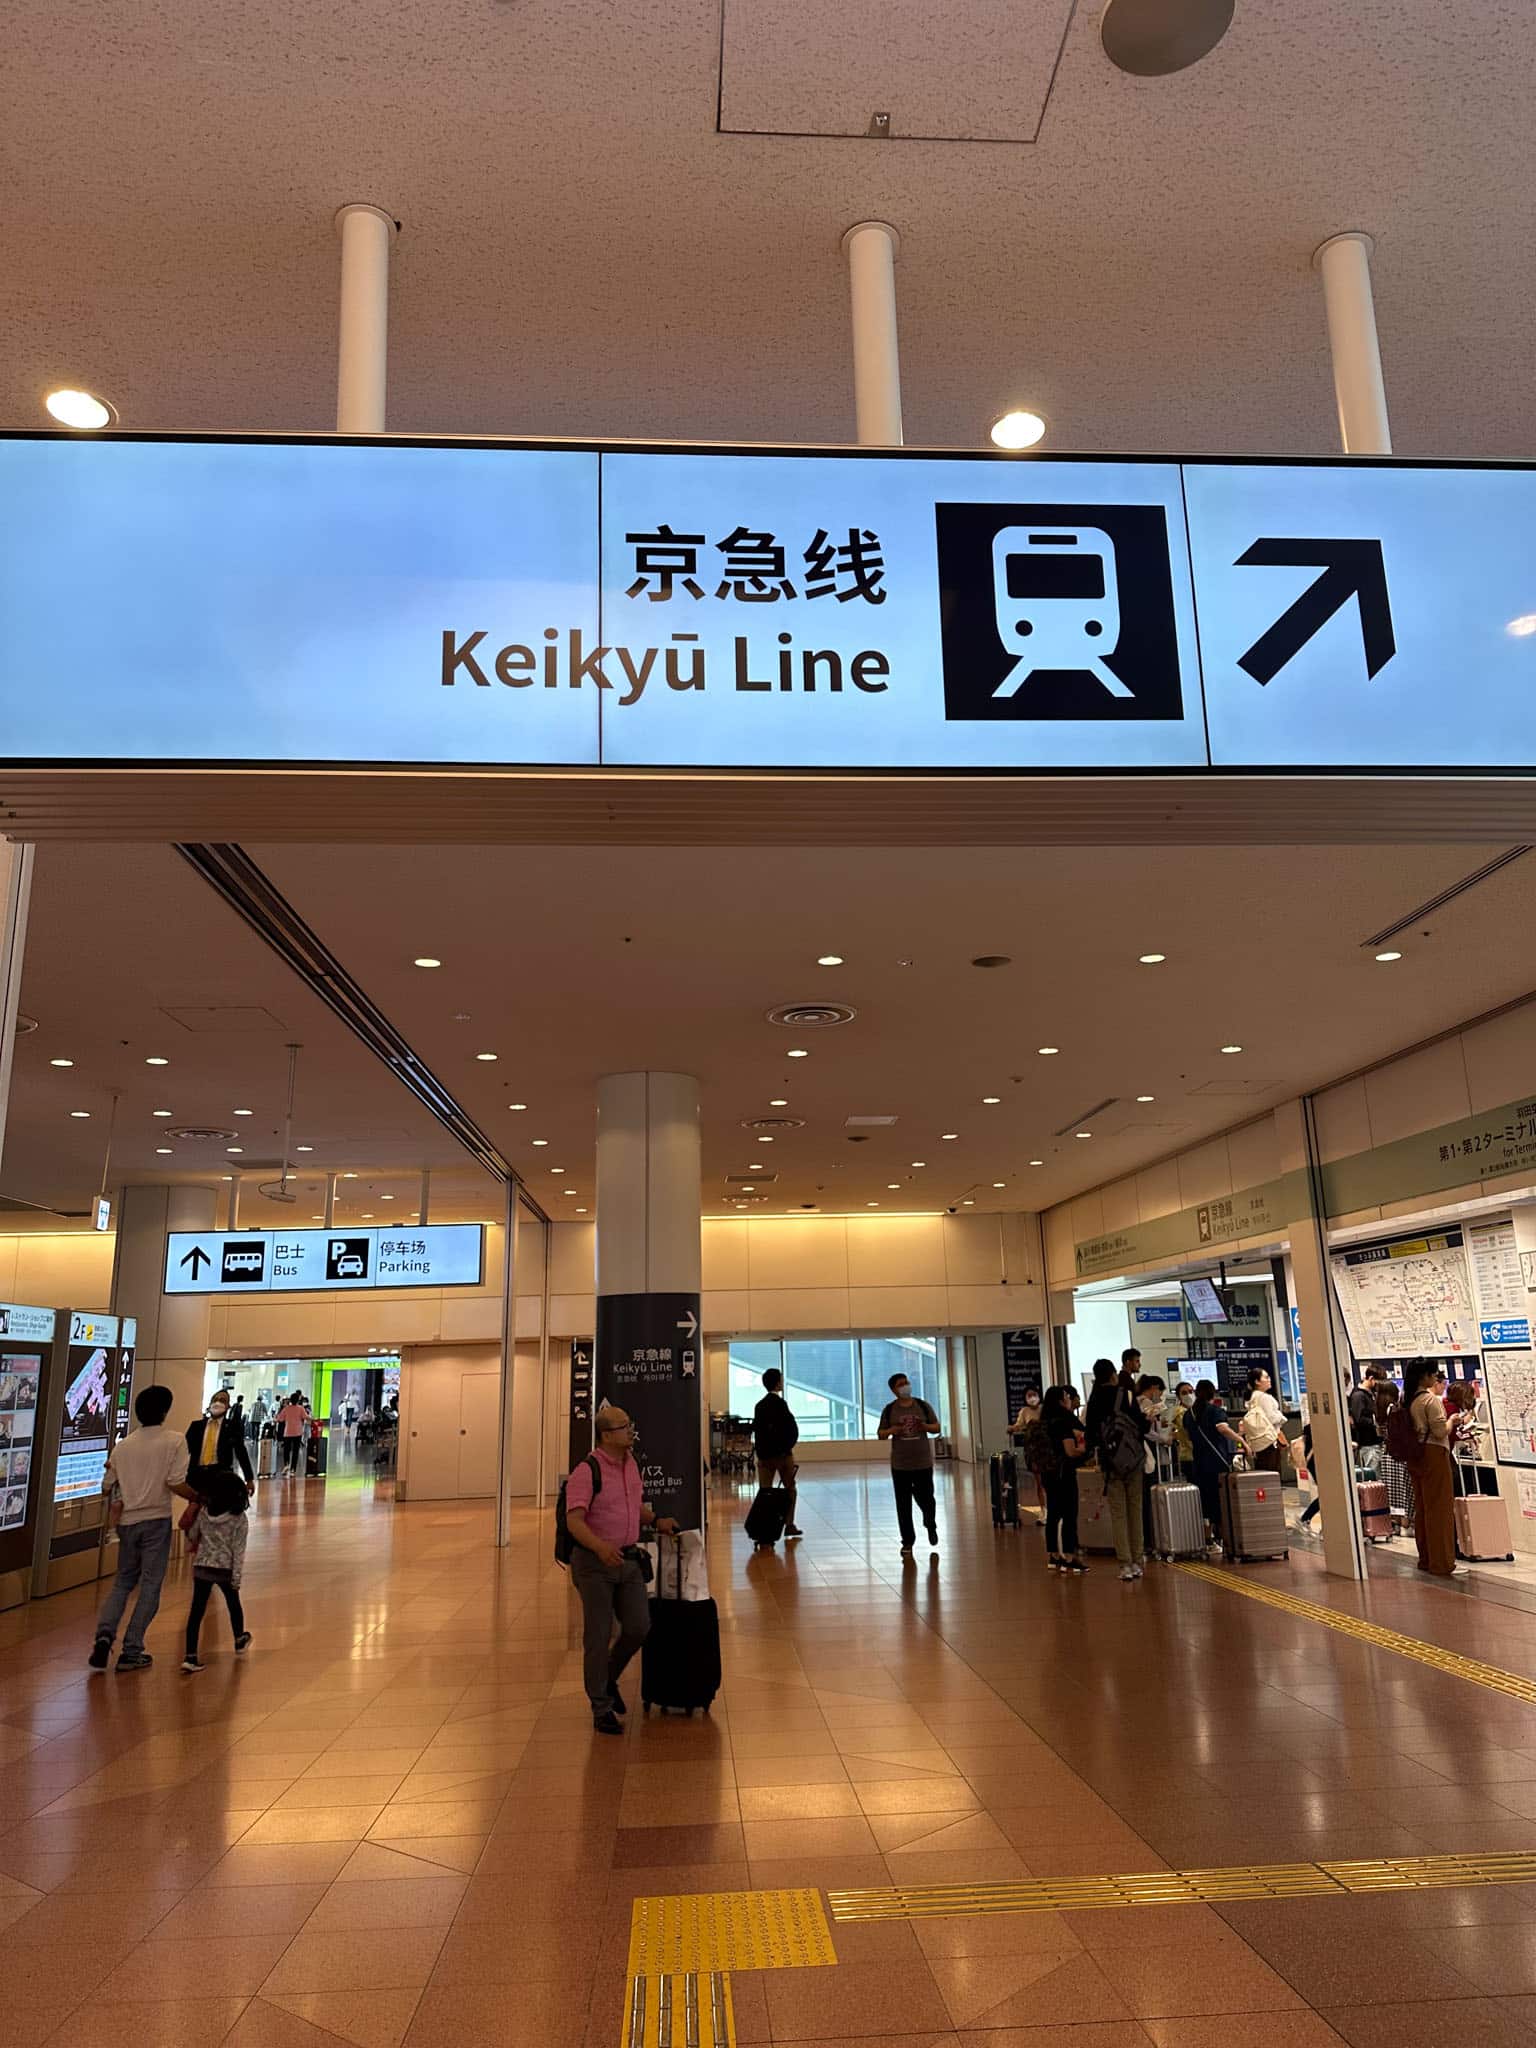
- Keikyu Line: Many of our planned destinations revolved around the Keikyu Line.
- Uber & Taxis: Consider using ride-sharing apps or local taxis if you’re short on time. Be expected to pay a higher fare for Taxis.
Transportation Methods Compared
| Method | Time to City Center | Cost | Frequency | Convenience |
|---|---|---|---|---|
| Keikyu Line | 20 minutes | ¥300 | Every 10 min | ★★★★☆ |
| Tokyo Monorail | 15 minutes | ¥500 | Every 10 min | ★★★★☆ |
| Airport Limousine Bus | 30-45 minutes | ¥1,100 | Every 30 min | ★★★★★ |
| Taxi | 15-30 minutes | ¥7,000-¥10,000 | On demand | ★★★☆☆ |
| Uber | 15-30 minutes | ¥6,000-¥9,000 | On demand | ★★★★☆ |
My Recommended Option
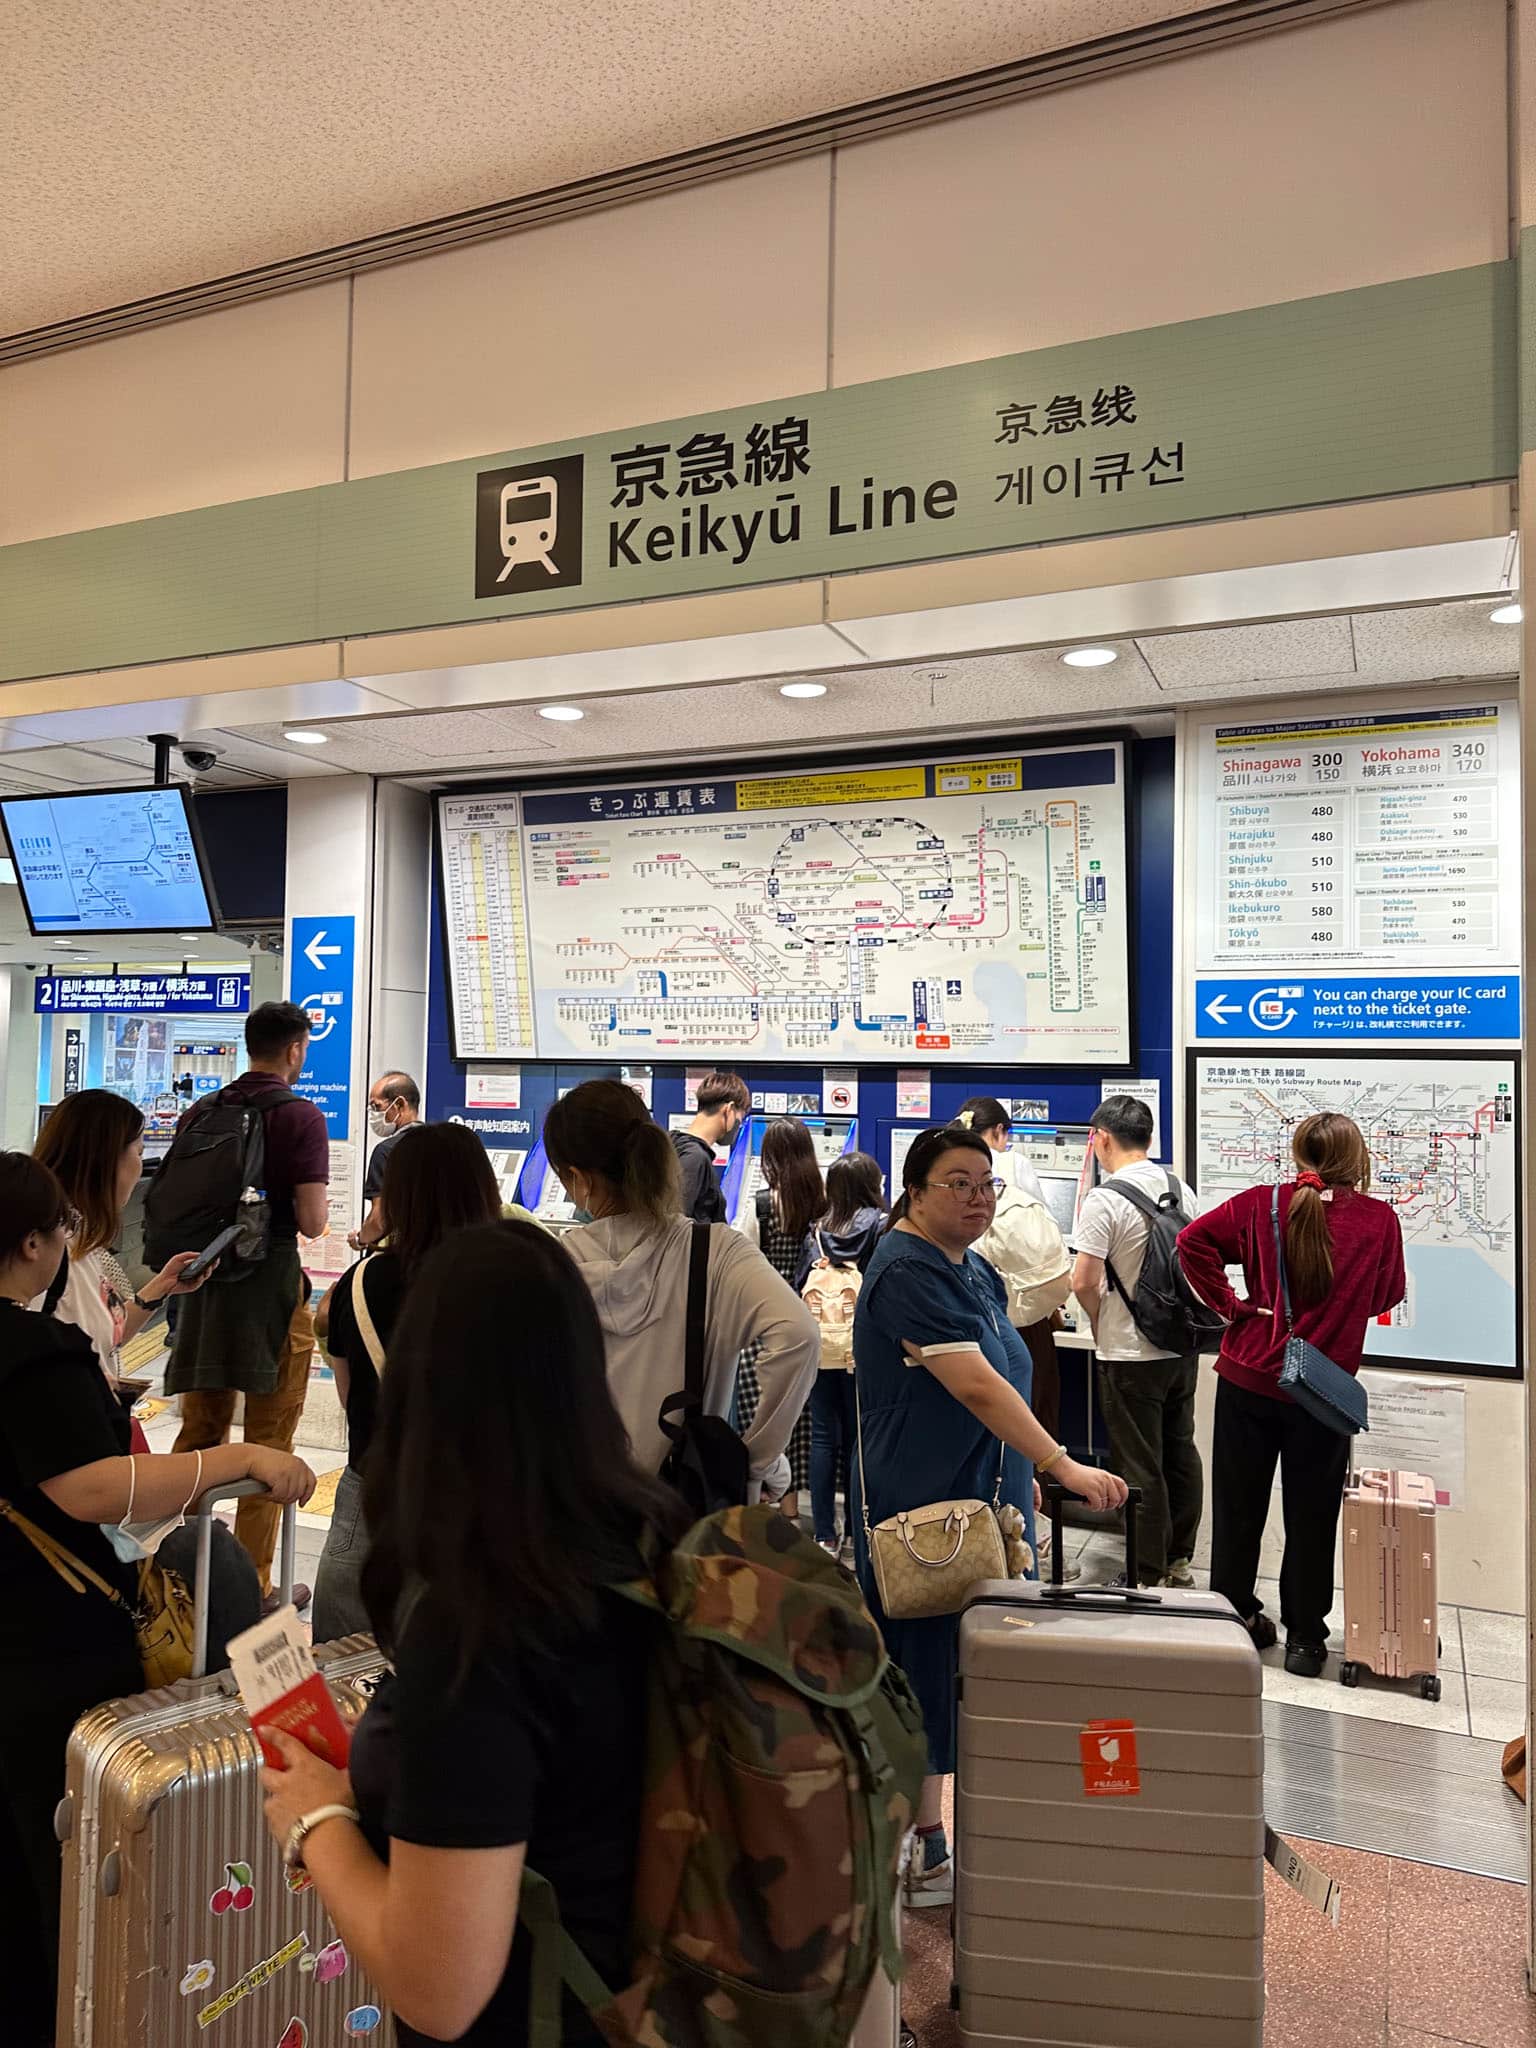
For most layovers: The Keikyu Line
The Keikyu Line offers the best balance of cost, speed, and convenience. From Haneda Airport International Terminal Station, you can reach major hubs like Shinagawa Station in just 20 minutes. Many of Tokyo’s main attractions are easily accessible from stations along this line.
Timing Tip: Trains in Tokyo are extremely punctual. If your train is scheduled for 10:15 AM, it will depart at exactly 10:15 AM. Plan accordingly!
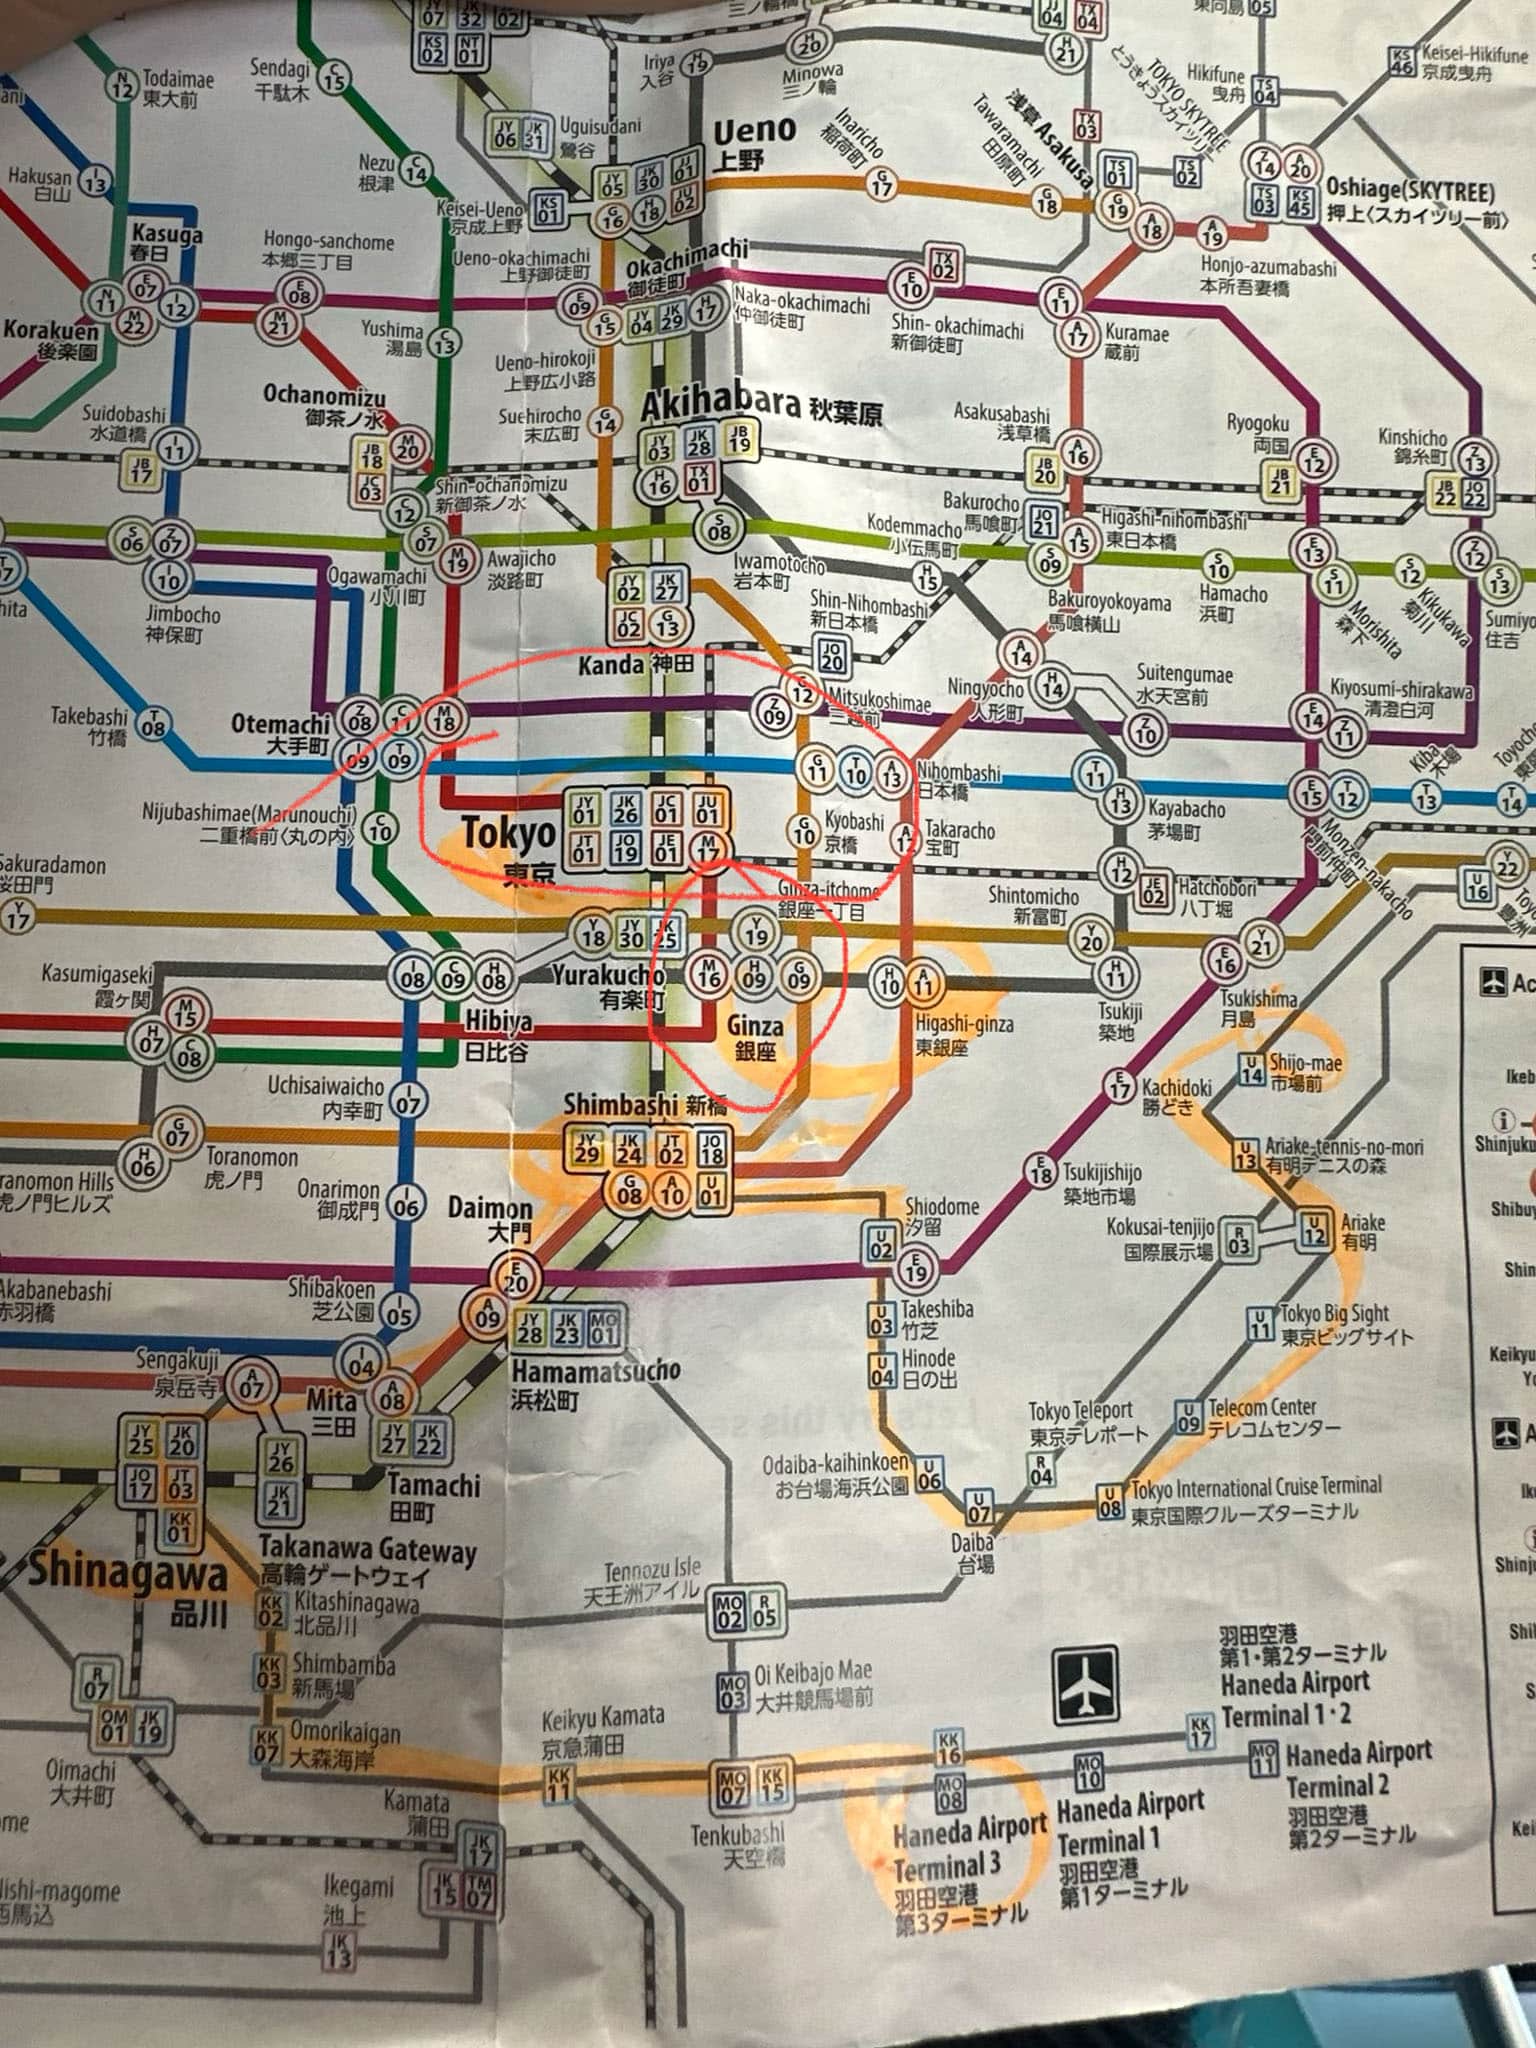
Navigating the Metro System
Tokyo’s metro system can be intimidating at first, but it’s incredibly efficient once you understand a few basics:
- Color Coding: Each line has a distinct color and number/letter code
- Station Exits: Major stations have multiple exits (sometimes 20+) – check which exit is closest to your destination
- IC Cards: Your Suica card works on all metro lines, JR lines, and buses
- Google Maps: Works extremely well for navigation in Tokyo, showing exact platforms and exits
Must-See Tokyo Attractions
Given a 12-hour layover, you’ll need to be selective about what you see. Here are my top recommendations based on accessibility from Haneda and cultural significance:
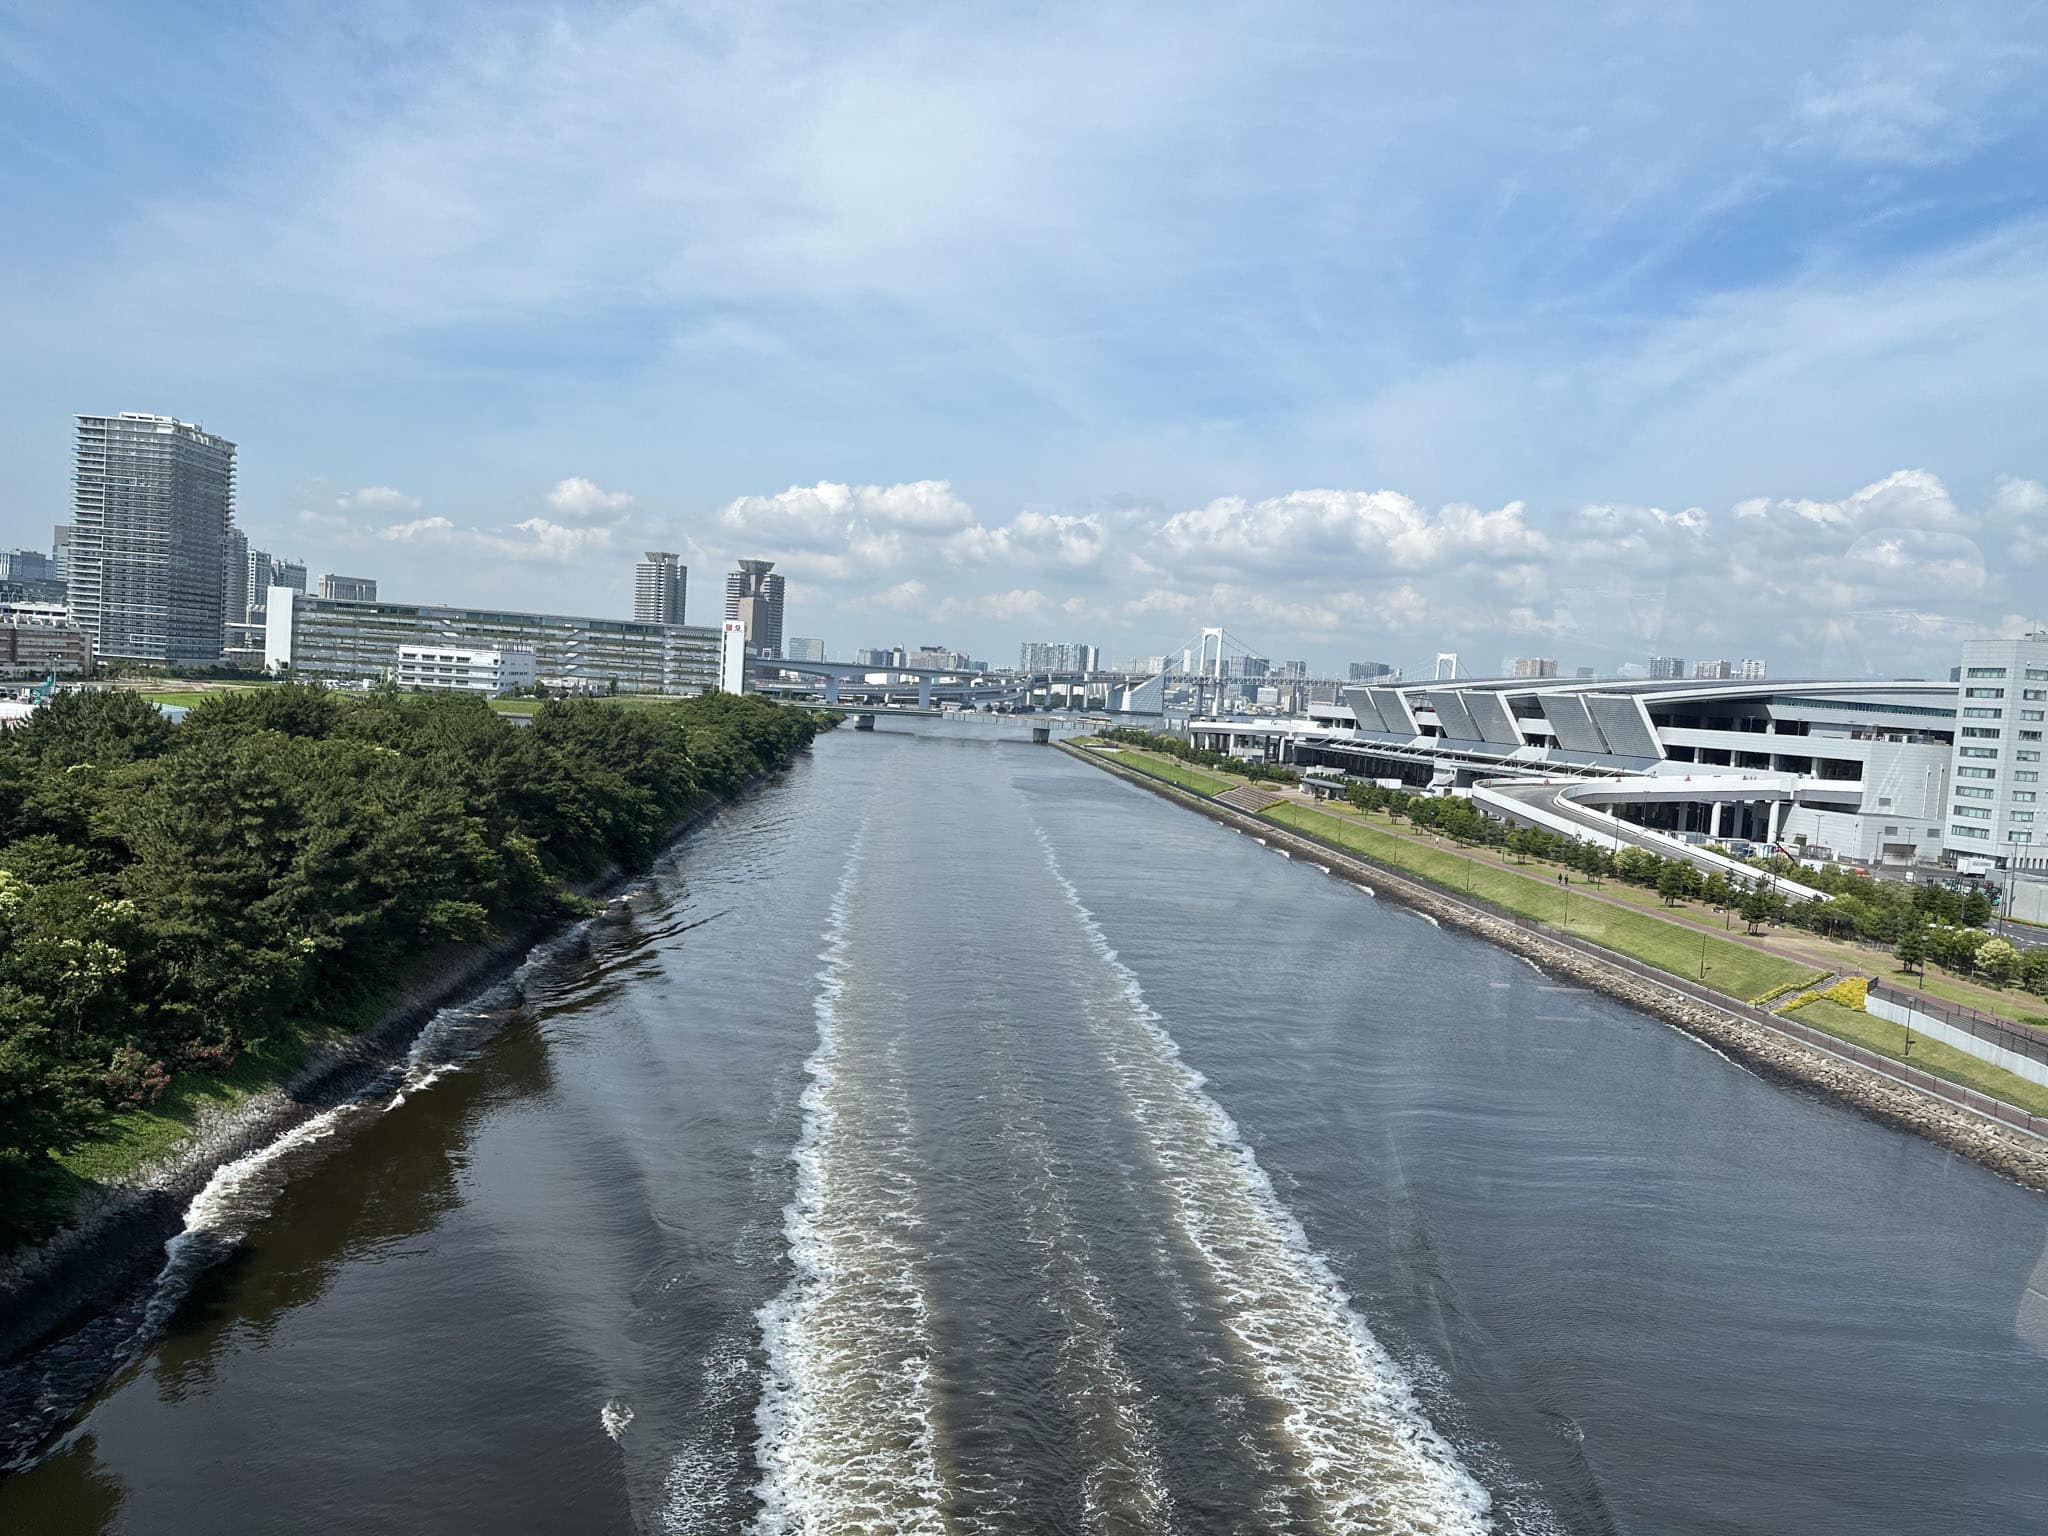
- Toyosu Fish Market: Located near Shijo-mae station, this bustling market offers a glimpse into Tokyo’s seafood culture. This was one of the places we went to super early. Except it was closed when we went for construction. But don’t worry it might be open when you check it out. (Just make sure you don’t eat up too much travel time via train).
- Getting There: Take the Keikyu Line to Shinagawa, transfer to the Rinkai Line to Toyosu station. Total travel time: approximately 35 minutes.
- Opening Hours: 5:00 AM – 2:00 PM (Tuna auctions viewable 5:30-6:30 AM)

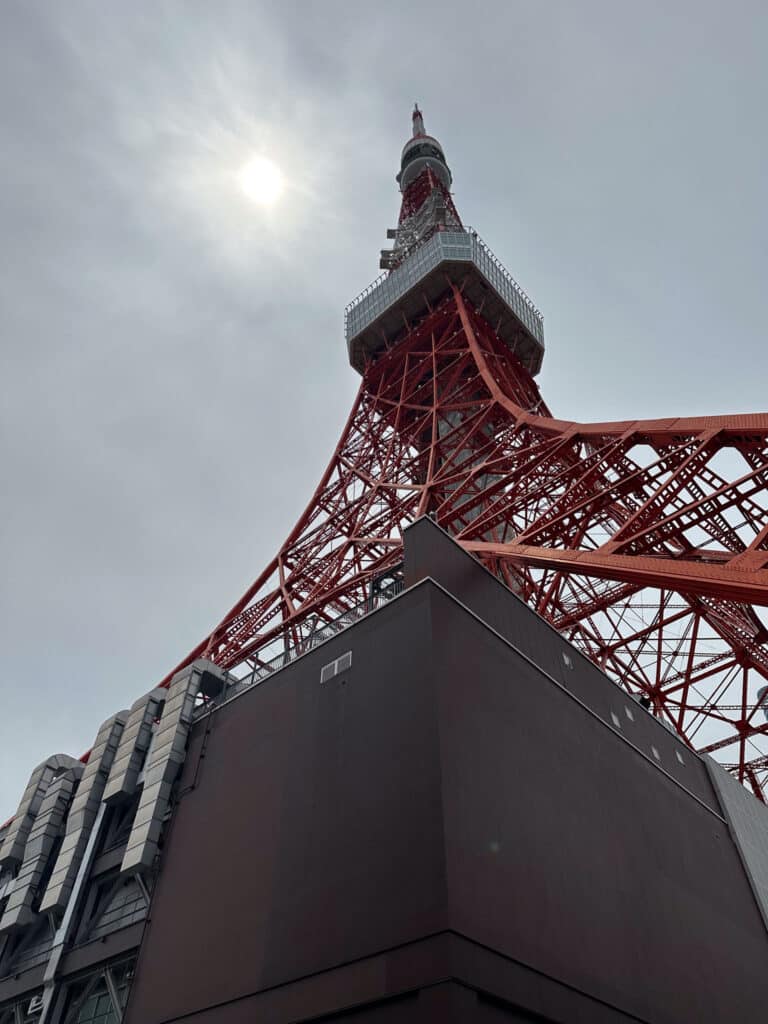
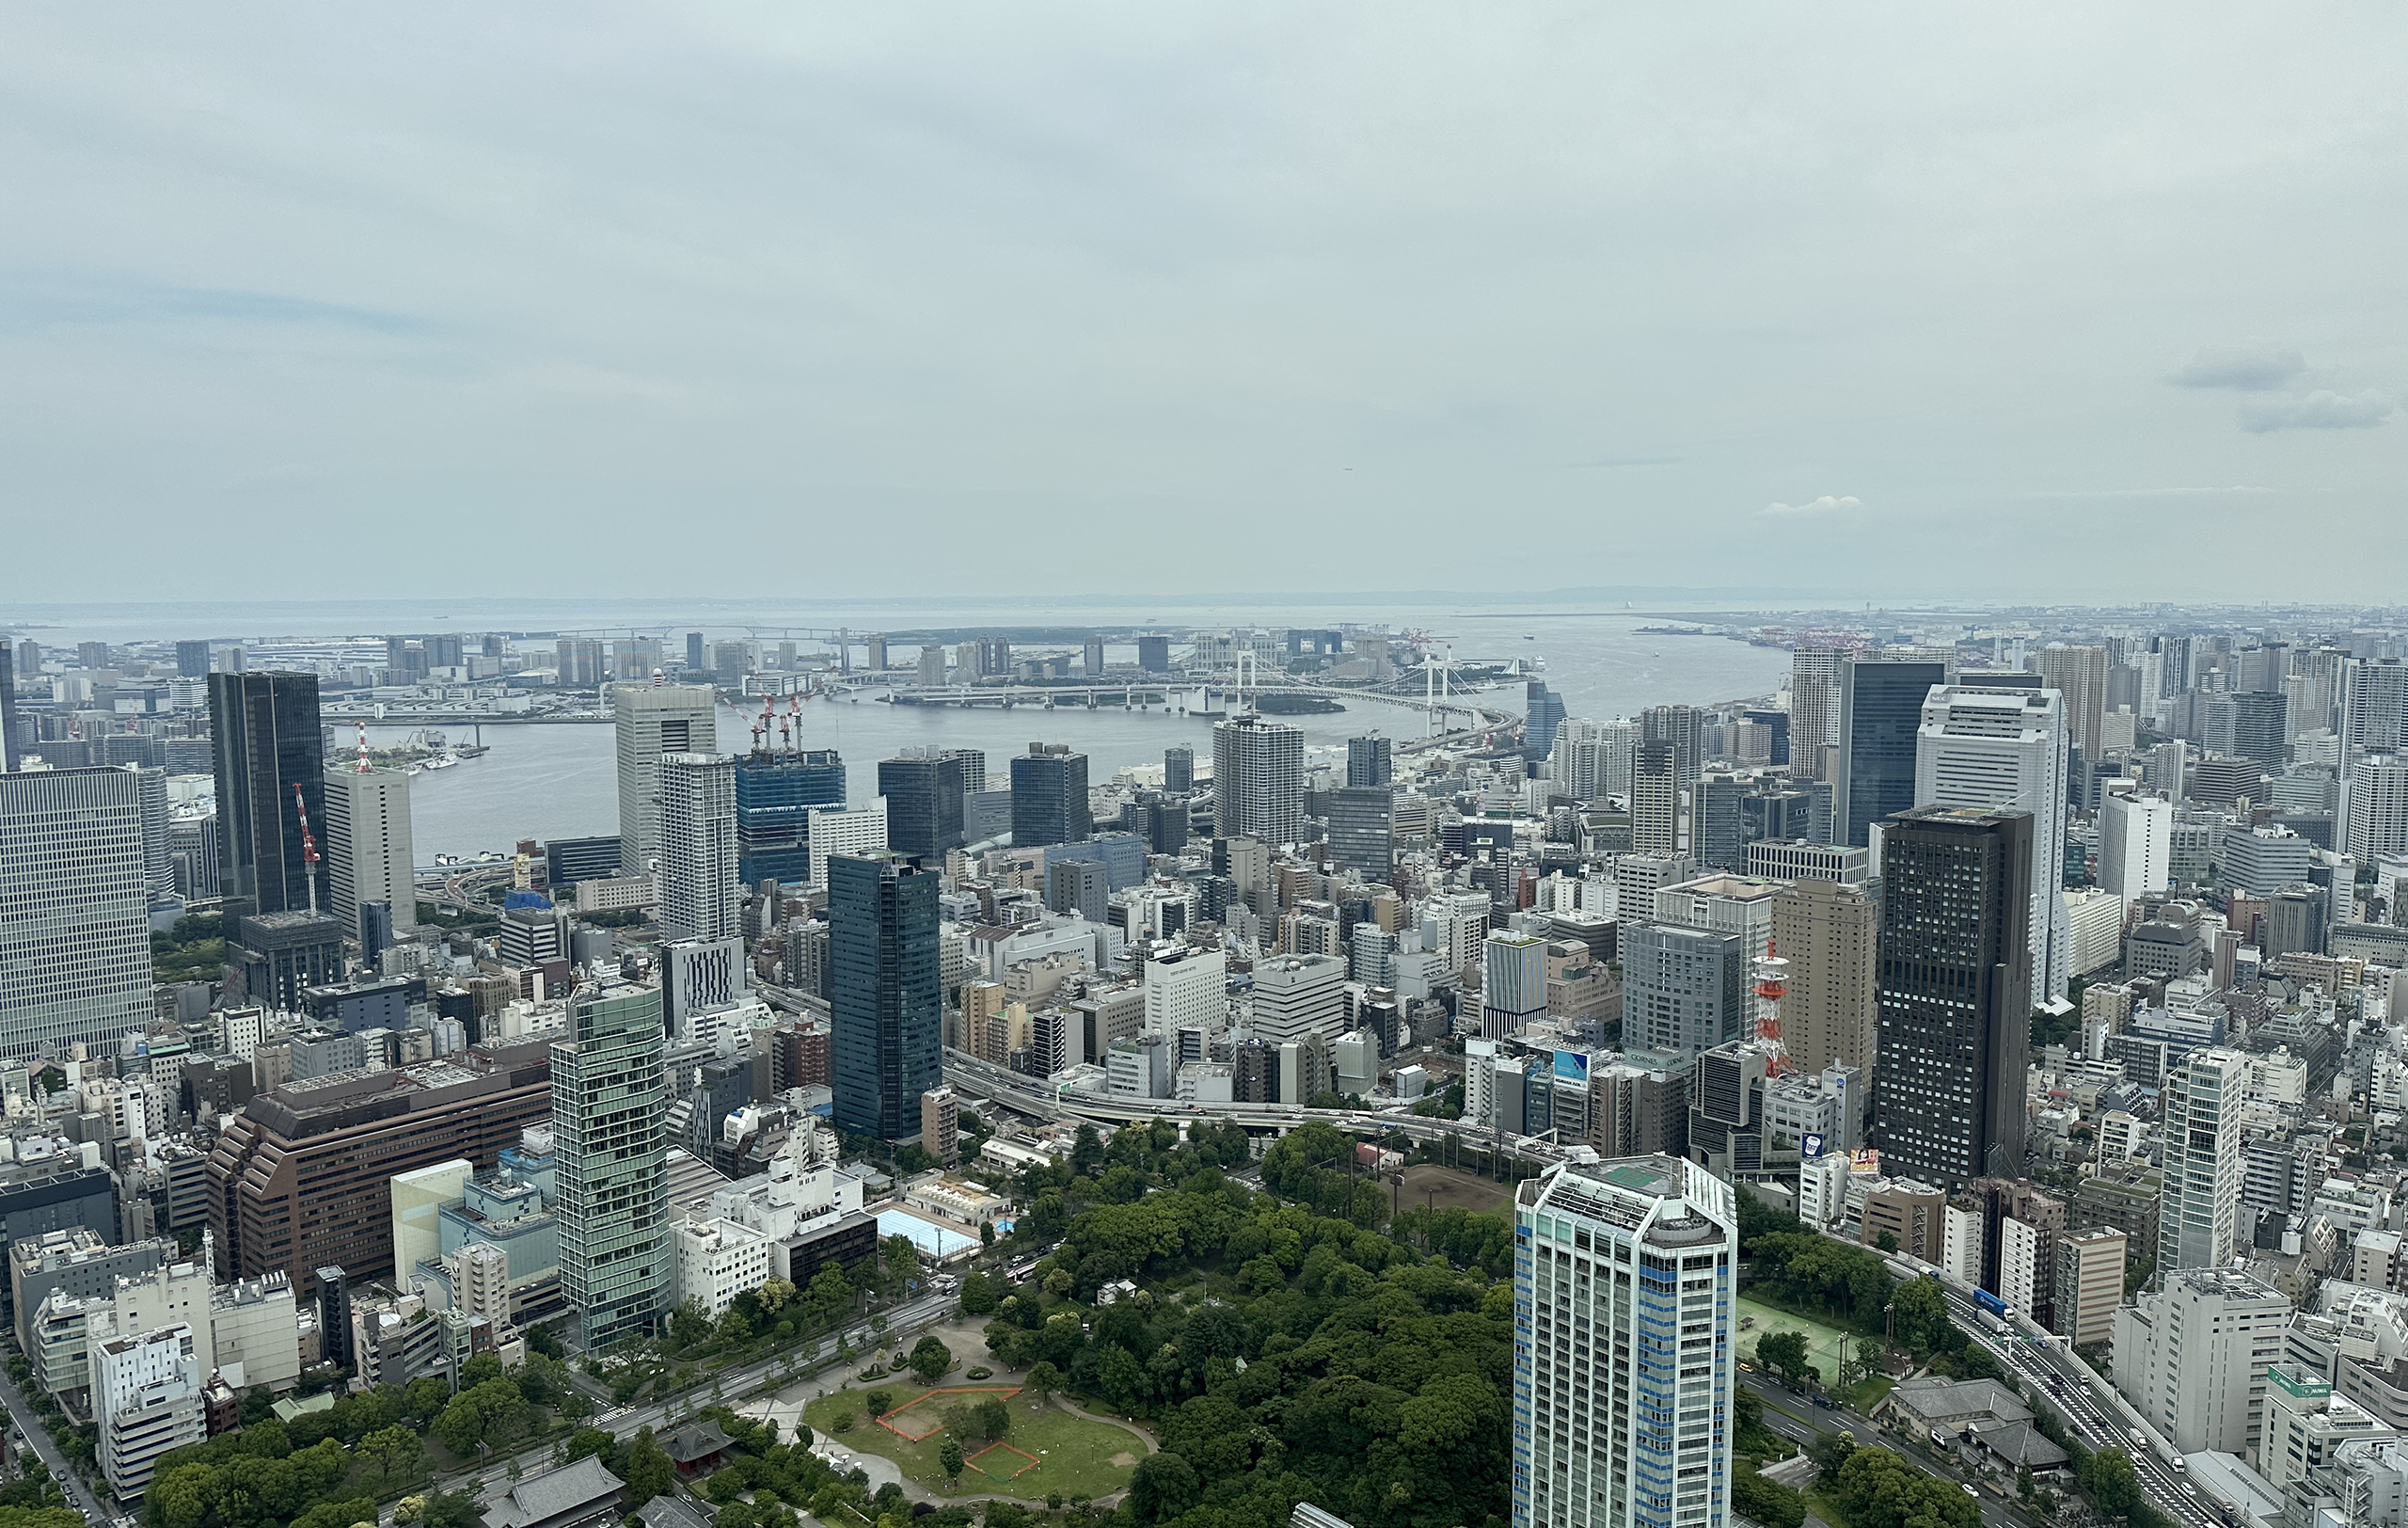
- Tokyo Tower: Iconic red and white tower offers spectacular views of Tokyo. I recommend the Top Deck Tour–which gives a unique history of the tower and breathtaking and scary views. It’s roughly $42 USD for two people.
- Getting There: Take the Keikyu Line to Daimon or Hamamatsucho stations. The tower is only a short 11-minute walk away.
- Opening Hours: 9:00 AM – 11:00 PM (last admission 10:30 PM)
-
Admission Fees:
- Main Deck (150m): ¥1,200 (adults)
- Top Deck Tour (250m): ¥3,000 (adults) – includes guided tour and special observation deck
Accessibility Note: If you’re traveling with someone with mobility issues (like I was with my grandmother), be aware that the streets around Tokyo Tower are unforgivable and super bumpy. Consider taking a taxi directly to the tower entrance. If you decide to continue on the streets, take a break at the Starbucks on the way.
- Shibuya Crossing: Experience the world’s busiest pedestrian right off the Shibuya train station. This is the busy crossing intersection you might have seen in Fast and the Furious: Tokyo Drift or in many photos.
- Getting There: Take the Keikyu Line to Shinagawa, then the JR Yamanote Line to Shibuya Station. Exit the station at the Hachiko Exit.
Food Recommendations
Tokyo’s food scene is legendary, and even on a short layover, you should make time for at least one authentic meal. Here are my top recommendations that combine quality, convenience, and cultural experience:
Quick but Authentic Options
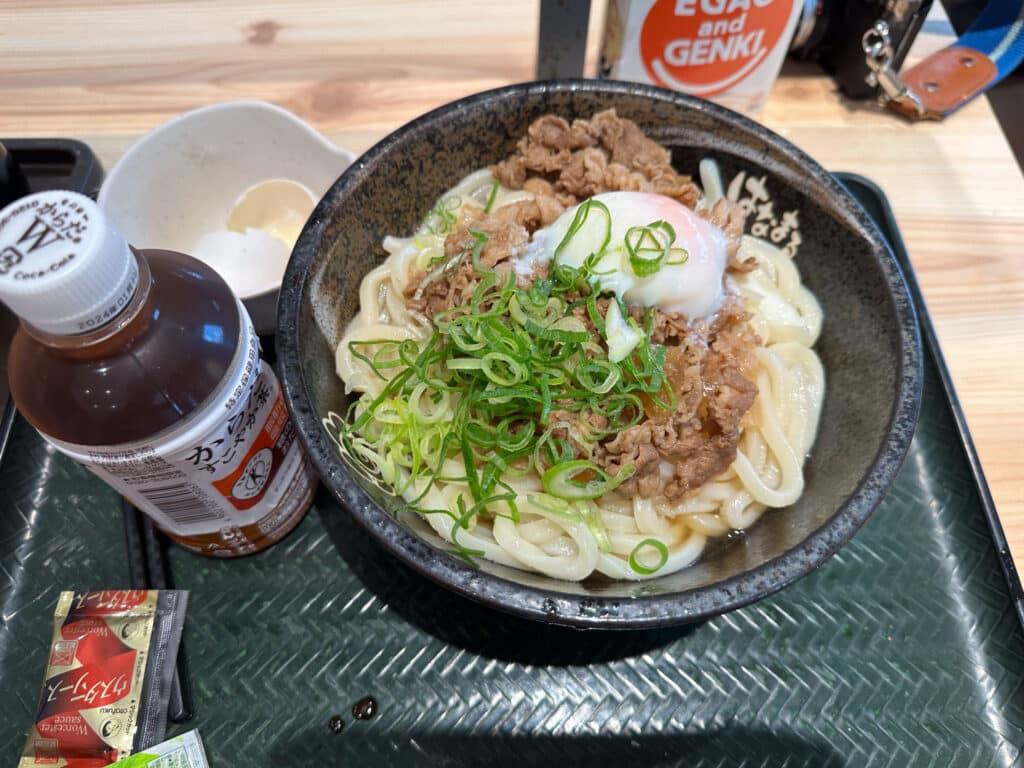
- Hanamaru Udon: Near the Shinbashi train station (a few blocks away). Had a huge craving for udon noodles and decided to check out a local chain. I definitely recommend! Just be sure to bring cash.
Paying for Things:
Most stores and restaurants in Tokyo accept credit cards, but it’s always a good idea to have some cash on hand just in case.
- Credit Cards: More often than not I was able to use my American Express card for store purchases. However, some tourist-geared restaurants, and of course the tourist attractions accepted credit cards
Important: Bring cash! It’s not like South Korea (where you can use credit cards for any small purchase). While Japan is expanding card payment options, many locations still only accept cash.
- Local Currency: Small shops may prefer cash, so having some yen from the airport exchange can be helpful. I felt that for the brief time in Tokyo $100 Euros was more than enough to have as just-in-case cash.
Tokyo
Tips, Tricks, and Logistics
- Visa Requirements: Check if you need a visa for Japan before your trip.
- Transportation: Research transportation options (train, subway, taxi) and purchase a Suica card in advance for convenience.
- Accommodation: If your layover is overnight, book a hotel near the airport or in a central location.
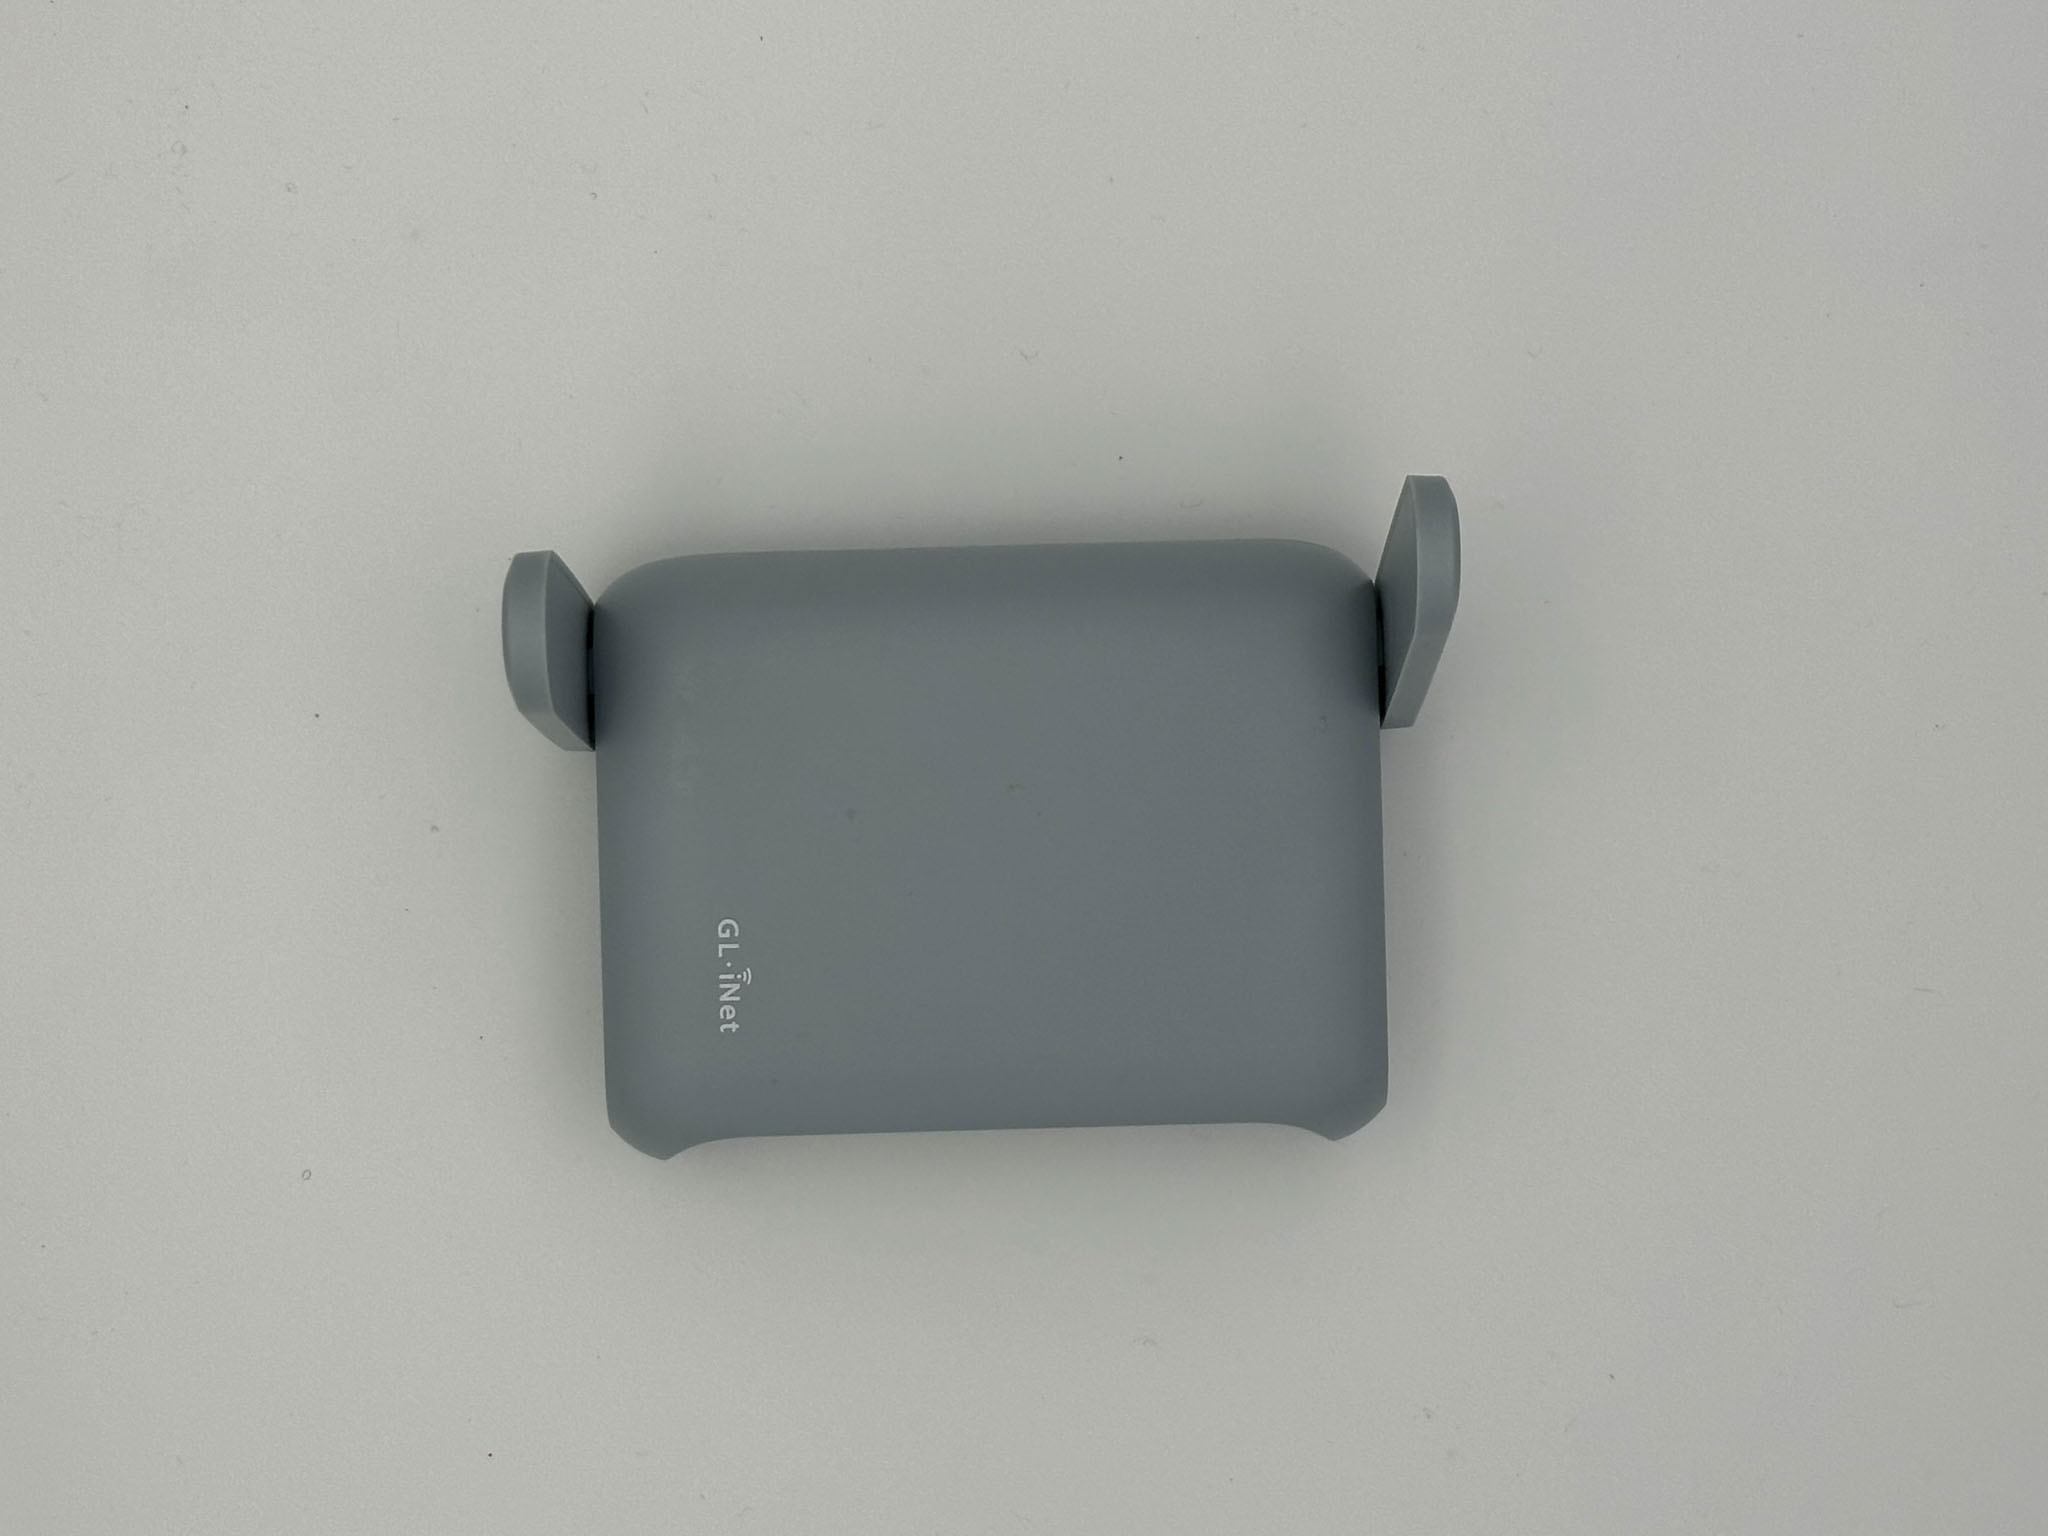
- SIM Card or Pocket Wifi: Stay connected with a local SIM card or pocket WiFi device or portable travel router with a VPN service (I use StarVPN).
- Language: Learn a few basic Japanese phrases like “hello,” “thank you,” and “goodbye” to make your interactions smoother. I recommend using a tutoring service like Preply or iTalki to get familiar and even ask your tutors for recommendations!
- Packing: Pack light, especially if you plan to use public transportation.

Trip Soundtrack
Because every adventure needs a soundtrack, each of my trips comes with a theme song. And for this trip's anthem? Well, it's...
Japanese Folk Song #9: Cherry Blossoms さくらさくら/Sakura Sakura)
Enjoy Your Tokyo Adventure!
In a rush? Download your FREE ultimate packing guide as a PDF and get ready for your next remote-work adventure. Click here to grab the PDF now.
Even with the constraints of a layover, Tokyo offers a memorable experience. With these tips, you’re set to enjoy a glimpse of Tokyo’s culture and vibrancy. Remember to stay flexible and adjust your plans as needed to make the most of your visit.
Pingback: Remote Work Paradise: 4 Days in Guam (with a Layover in Korea) - Homson Travels